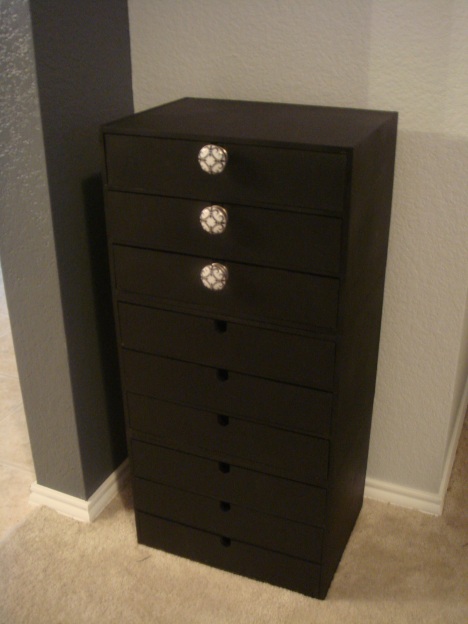
It feels GREAT to say this: I am finally done with the jewelry drawer! Well it is not exactly finished – it needs two more additions but it is DONE enough for me to fill it with earrings galore.
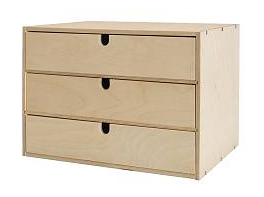
First – the cheap before. I didn’t take a before photo but here’s a picture of the FIRA drawer. (Link doesn’t work anymore, IKEA doesn’t sell this anymore, frown) It cost me 15 bucks each and I bought three of them.
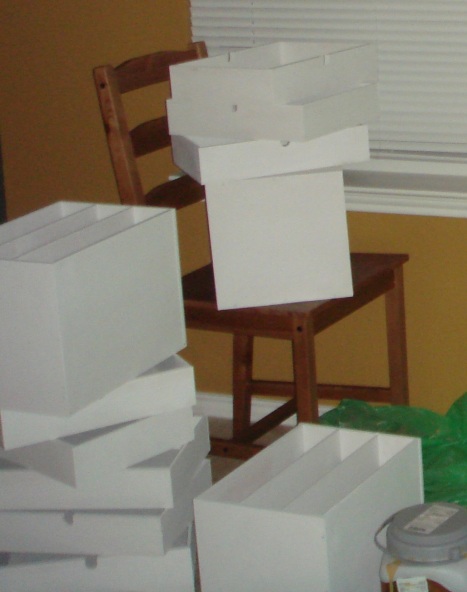
 I assembled them and then painted them with white latex primer. Nick still says that I should have painted them first AND then assembled them. Only recently have I told him that I think that he’s right about this. He hasn’t stopped saying “I told you so” with one raised eyebrow thus far. Yeah, yeah, yeah, yeah.
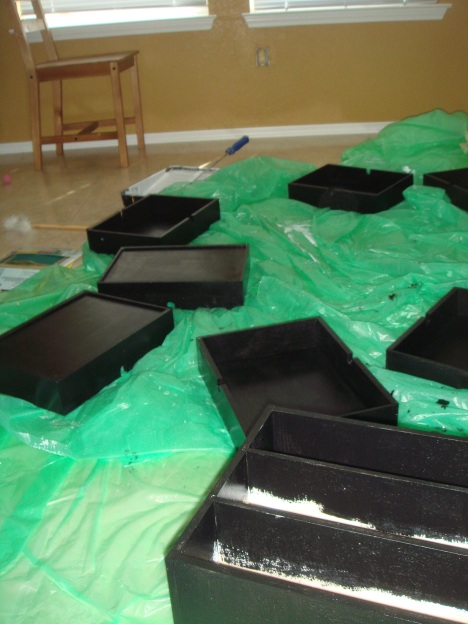
Then: paint. Black. Thick, gloopy coats of paint.
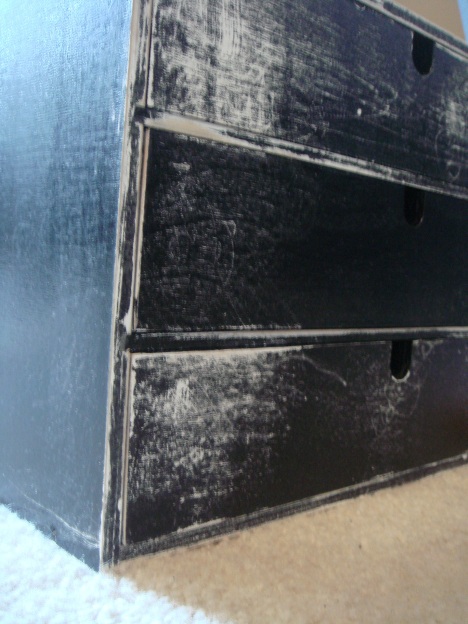
Not Working Very Well. Splatters all over and the paint just didn’t look good. I got glossy paint because I thought I wanted it to be glossy and cute and jewelry-like but it just showed ALL the flaws and our novice painting skills.
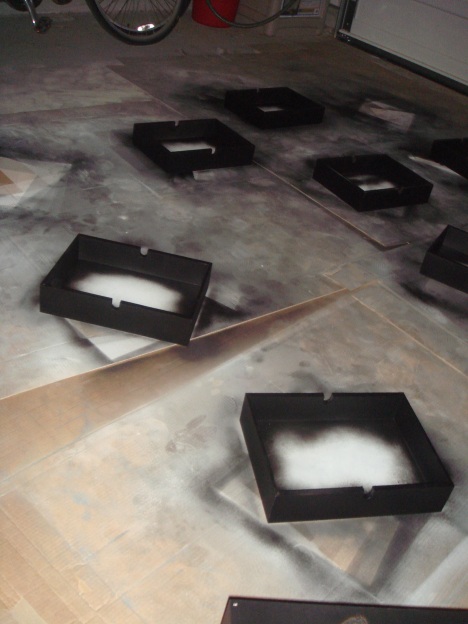
After looking at them scattered all over our dining room floor for a week and then hiding them in our bedroom for a few more weeks and feeling like a loser as I failed to meet my goal for the Procrasinator’s Party, I decided to just START ALL OVER AGAIN.
We bought a sander, primer paint spray, black paint spray, and a large scoop of determination.
All sanded-up and ready for a coat of primer and two coats of black (NON-GLOSSY!) paint spray…
I tried paint spraying them in our backyard but it’s too windy here and the cardboard kept on flying away, so I tried holding them down with huge glass wine jars (I like the cheap sangria from Wal-Mart, it is delicious, trust me) but the bees came and chased me, laughing. So I had to do all the painting in the garage, with the door open, of course. But I have to admit that sometimes I did feel a little sick and had to come inside to breathe.
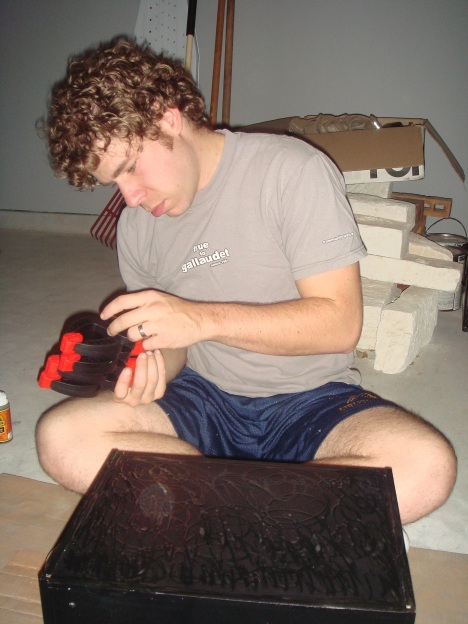
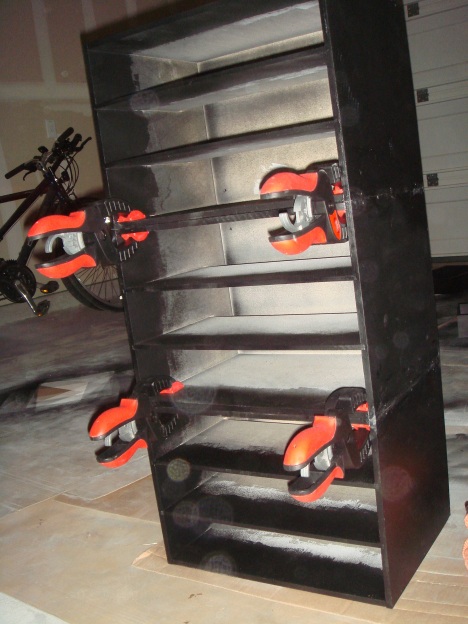
The steps after all that sanding and painting were easy. Nick glued it down with Gorilla Glue and clamped the drawers together.
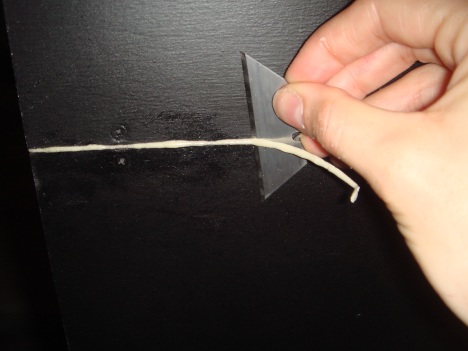
But the gorilla glue expanded and it spilled out the sides. Not a problem – I scrapped them down with a razor.
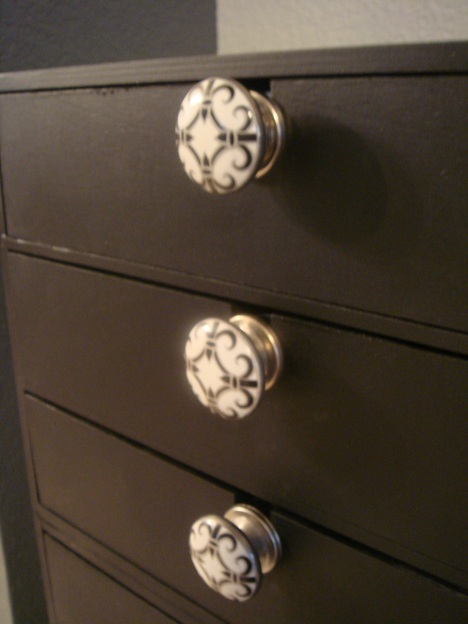
Did some more spray touch-ups and added knobs from Anthropologie and I love it!
Yeah, I need to buy six more knobs. Will, will.
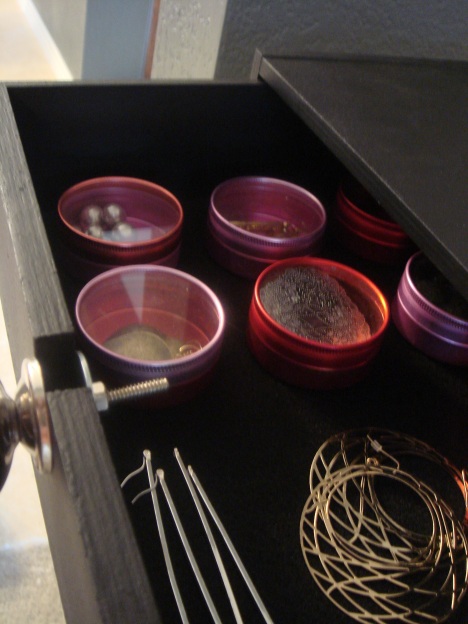
As you can see, there are already weird notches in the drawers and I didn’t want them to be like that so I just added the knobs and bought large washers so it would fit and just put the nut that came with the knobs to tighten it. If that was gibberish to you (not sure how to explain it to you), I’m sure the next few pictures will clarify.
Got some cute metal tins from a local store in Austin and glued down some black felt on the drawers so everything wouldn’t slide around.
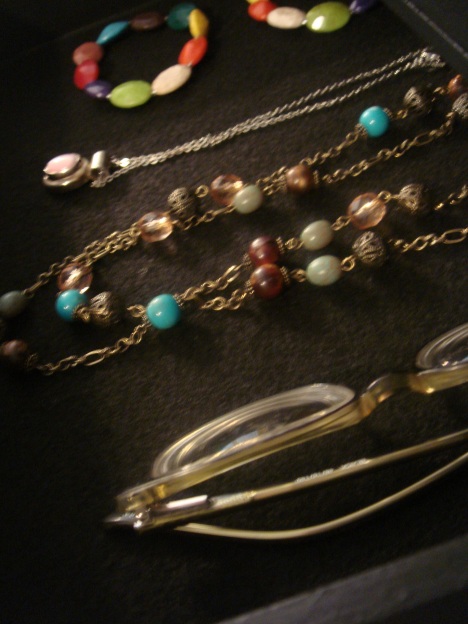
Maybe now I’ll stop asking Nick to look for my glasses after I’ve taken off my contact lenses!
I want to add a bottom stand to the drawer. I will go on a hunt soon… I want a stand similar to the tulip table, but we’ll see what we can find…
And of course – I cannot take any credit for this idea. When I saw this, it was instant love.






It was for me too. I bought one FIRA though. And for earrings, they would be on the wall, well, sort of… like the one you made for Alexa, but slightly difference. What I am trying to say here is, THANKS for sharing. =D
And wonderfully made!
OK, this is def one more thing…. where do you get those tins from?
I love those knobs. such pretty hardware! Thanks for stopping by my blog!
Cool!!! Good Job! Looking forward to hearing that you will complete this jewelry drawer with a bottom stand! ox
Wow that’s GORGEOUS! Wonder how wide are the drawers? Def worth the work!
turn around the drawers ?
i think the back side is full, front side has that notch for your finger to reach in and pull
swap it, drill a hole in the middle and then insert it (DO NOT INSERT WITHOUT DRAWER PULL, CANT GET OUT!! smiles)
check that out – I did with my drawers (like yours) just turned it around and done.
jeezed looked at your photos, BOTH sides has the finger pulls 😦
Thanks, everyone, glad you like the drawers! 🙂
Darlene – got them from a local shop in Austin but I’m sure you could find similar stuff at Hobby Lobby, Michael’s, or even Wal-Mart? I need some more so if I find something in a bigger store, I’ll let you know!
Tawny – The drawers are a lil more than 12 inches wide. Perfect size for jewelry..
Clyde – Yes! That was the original plan until I assembled them and was so disappointed – but I think what we decided on, using the bigger washers we got from Lowe’s works fine. You can’t even tell until you open it… so it works for me! But would love to see your drawers!
pictures of my drawers
grin..
Hey, way to persevere!!! It looks fabulous 🙂 The trim post is coming, by the way – maybe just after New Year’s Day. Good to hear from you again, hope you had a great holiday!
~Jacci
Gorgeous! I gotta make one like this.. it’d also be suitable for people (like me) who’d move across the country often! (..unintentionally, i swear..) haha.
🙂 is that the “jewelry box” you were painting when i was in austin last summer? wow, looks nothing like what i saw when it’s all together and done beautifully! 🙂
[…] Made a jewelry cabinet (and bought all the […]
[…] saw legs, some clamps, and better planning skills! I had some teeny-tiny clamps that we used for my jewelry dresser, but they wouldn’t fit on the edges of the […]
[…] I got the idea from the jewelry drawer hack. You can find pictures at my blog, and then the final […]
I love Ikea hacks!! And this one is great!! I bummed that Ikea no longer sells the Fira drawers. I wanted them to hold my make-up!! I’ve even tried to look on craigslist for them!! You did a wonderful job!! I love anthropology knobs!! Pricey…but I haven’t found any cheaper like them.
[…] I got the idea from the jewelry drawer hack. You can find pictures at my blog, and then the final […]
[…] https://whatthevita.wordpress.com/2009/12/16/finally-finished-sort-of/ I recently priced out some jewellery dressers so can totally appreciate this clever DIY using really cheap IKEA parts! A little glue, paint and knobs and voila! – exactly what I’m looking for! http://thirteenandsouth.blogspot.com/2010/10/my-relationship-with-my-ikea-nightstand.html One of the web’s more popular IKEA Hack’s – this customized nightstand started as a $40 IKEA RAST unfinished little dresser! The creative options are limitless! […]
I found this on a Model’s blog….
http://www.ikea.com/gb/en/catalog/products/40216357/
not USA but Im still looking!!
I believe that is one of the so much vital info for me.
And i’m satisfied studying your article. However wanna observation on some general things, The website style is great, the articles is actually great : D. Excellent task, cheers
Undeniably imagine that which you stated. Your favorite
reason seemed to be on the net the simplest factor to consider of.
I say to you, I definitely get irked at the same time as other folks consider issues that they plainly do not understand about.
You controlled to hit the nail upon the top and also
defined out the whole thing with no need side-effects , other people could take a
signal. Will probably be again to get more.
Thank you